Saturday, July 01, 2006
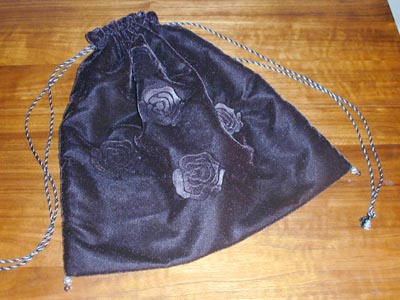
Stamped Velvet
at.... http://www.trystancraft.com/martha/projects/stampvelvet.html
Stamped Velvet
- velvet
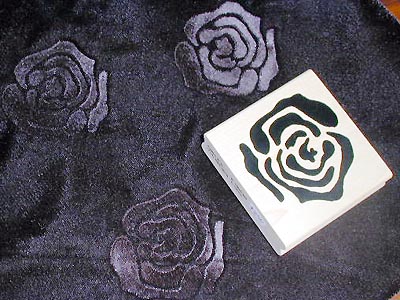
- rubber stamp
- iron and ironing board
- large, hard-backed book or other hard surface
- water (preferably in a spray bottle)
- fabric shield for iron (optional)
Stamping velvet is a wonderful way to customize a project or gift. You'll need a few, rather specific tools, but once you have them, you can make all kinds of beautiful things!
The Velvet: This technique only works on cut velvet, not crushed velvet, panne velvet, stretch velvet, or velveteen. You need the deep pile of a cut velvet. Rayon or rayon-blend cut velvet is the most common variety at fabric stores and works perfectly. Expensive silk velvet is not necessary.
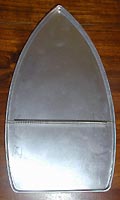
The Iron: The best type of iron to do this project is one that doesn't have very many steam holes or that has steam holes only around the edge of the bottom plate. Steam holes will make holes in your stamped design. If your iron has lots of steam holes, you'll need to be more careful of where you place the iron in relation to the stamp design. Also, you might consider buying a Teflon iron cover, also called a fabric shield for velvet stamping. This is a simple cover that fits onto your iron with a spring.
To start stamping, turn off the steam on your iron and set it on a linen or high setting. Place a hard-backed book or other hard surface on your ironing board. Put the rubber stamp on top of it with the rubber facing up. Lay your velvet over the stamp, with the right side of the fabric (with the pile) touching the rubber.
When positioning your velvet, consider where you want the stamped design to show on the final item. If the velvet will be for clothing, make sure the design won't be caught in a seam. If you want a stamped border, place the design near the edge, but leave enough room to hem the velvet. Consider the size and shape of the final item -- sometimes it's easier to stamp before you sew, sometimes it might not be.
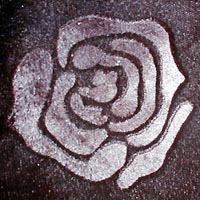
When the velvet is positioned on the stamp, mist the back of the velvet lightly with water. Now firmly press the iron on top of the velvet and stamp. Hold for 15 seconds. Lift the iron off, turn the velvet over, and you'll see the stamped design!
Warning: You can't wash stamped velvet! Water will ruin the design. As with any cut velvet, you should only dry clean it.
![]()
